
Fighter Kite Plans
Dot-01
This kite represents my initiation into the art of designing fighter kites. From reports I think it has been a successful one. Hope you enjoy building and flying it as much as I do.
d.i.
AKA- The Mad Scientist
Description
Sail - Light wind - lightweight mylar wrapping
paper or space blanket
- Strong wind - U.L. Orcon
or medium weight Orcon.
Bow - light wind - .05 carbon
- strong wind - .06 carbon
Spine - bamboo 3/32"square for high winds. Light winds make smaller in thickness.
Reinforcing - Only for strong wind version on leading edge only. Use 1 or 2 layers of photocopy acetate, the same width as the fold over flaps, 1/4", contact cement on.
I use a 3 point bridle on my light wind version, (rear point) but would use a 4 point on a strong wind version, (rear and the one 3" up)
Alternate materials can also be used with varying success. For the sail I have used tyvek and cellophane gift wrap. For the spine a steam bent 1/4"x1/8" basswood stick. For the bow I have also used .08" fiberglass. Experiment, it's fun!
The Plan
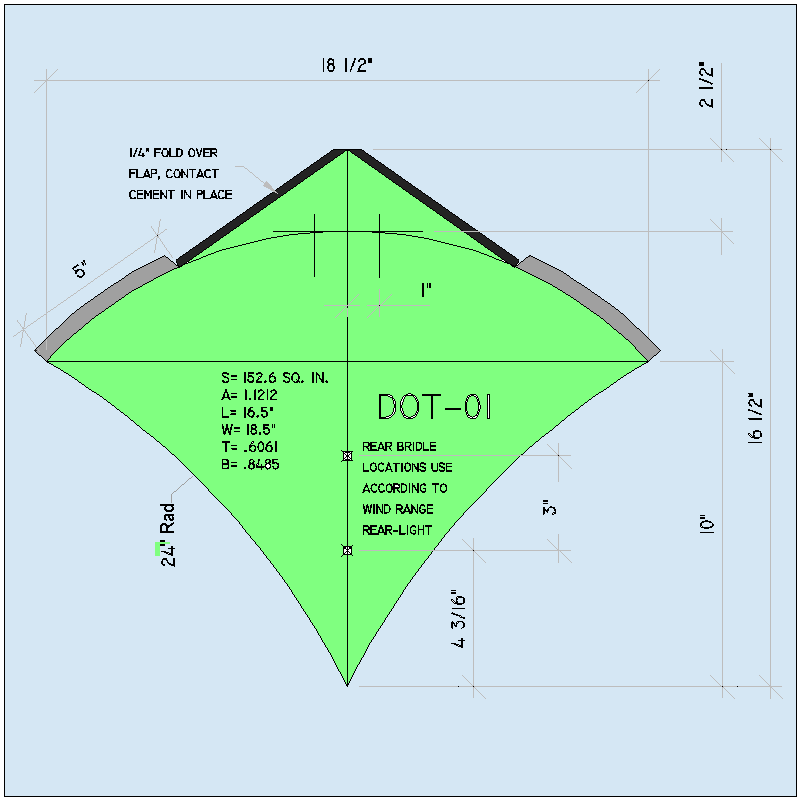
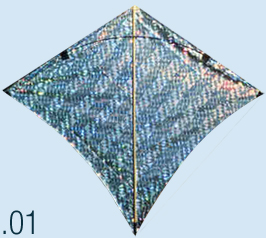
In picture .01 it is the first prototype.
For The Tech Junkies
here is the DXF File for you.Building Instructions
The template shown is made for contact cementing the leading edge and the bow in place. For detailed instructions check out the Fat Kids Notebook on the NFKA site. As an alternate, if you have a favourite method of building just go for it! The only rule is keep it light, strong and balanced.
That's about it. Enjoy and let me know what you think.
Dot-02
(the little sister)After dot-01 it seemed logical to continue thinking and fiddling around with fighter designs. Just for fun I thought I'd shrink the obvious trend and see what would happen. Little sister was born and is growing up really well. I have tested the design with Stan Kellar and his testimonial made me blush. With encouragement like that it is time to share it with you all.
d.i.
Description
Sail - lightweight mylar wrapping paper, space blanket or
U.L. Orcon
Bow - .04 carbon or .05 fiberglass and for the gale force crowd a .06 carbon
Spine - bamboo 3/32x1/16 or a very thin Indonesian spine.
Reinforcing - Only for strong wind version on leading edge only. Use 1/4 inch wide strip of photocopy acetate, .
I use a typical 3 point bridle of light braided line.
Alternate materials can also be used with varying success. Just remember what wind you want to fly it in and use the most appropriate materials. Rule of thumb is the lighter the better. Experiment, it's fun!
The Plan
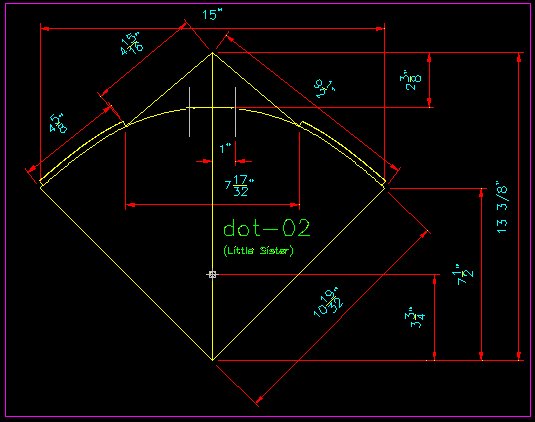
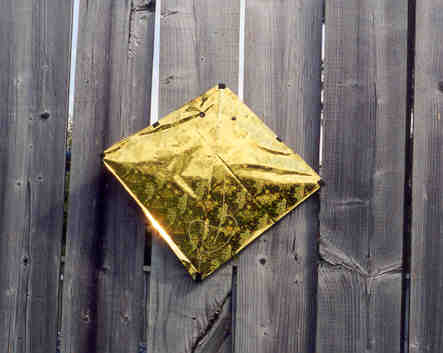
For the Techno Junkies
Here is the DXF file for you.
Building Instructions
The template shown is made for contact cementing the bow in place. For detailed instructions check out the Fat Kids Notebook on the NAFKA site. As an alternate, if you have a favourite method of building just go for it! The only rule is keep it light, strong and balanced.
That's about it. Enjoy and let me know what you think.
Lightning Bolt
(the fighter)The Plan
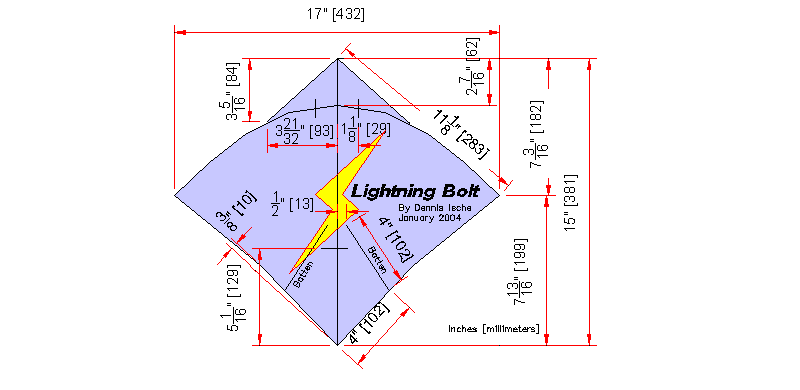
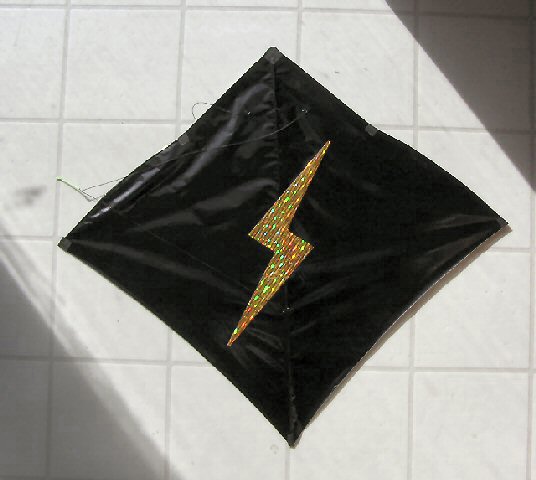
Materials
- The sail can be made from lightweight Mylar gift-wrap for light winds and orcon for stronger winds.
- The Bow can be .04 CF for light winds and .05 CF for stronger winds.
- The spine can be either .06 CF with a tension string to make the bend or bamboo of approx. 2 x 1.5mm or 3/32" x 1/16" thick.
- The battens are .03 CF.
- The bridle is either T13 cotton or 12 or 15-lb. Fly line backer.
Building Instruction
This is a fighter that is smaller than most so keeping the materials light is essential. Building accurately is also a must. Making sure the kite is balanced across the spine is essential. That said here is some tip's for building…. Gluing flaps for the bow should not be any wider than 3/16 or 5mm wide. The stiffener along the leading edge should not be any wider than the glue flaps. Hot cut the sail so no treatment is required along the trailing edge. Glue and tape the battens on the sail. Make the bridle as per a typical three-point bridle.
Enjoy the new model year fighter! ;)
d.i.
the Mad Scientist
Links
Here are a couple of links that will take you further into the fascinating world of Fighter Kites.
NFKA, Northwest Fighter Kite Association
CyberFighter Site
This site has been modified on March 18th, 2021
|