Fighter Line Waxing Rig
(by the Mad Scientist)Materials
There are a few parts and bits you need to gatherbefore starting to construct your waxer
1- Electric "Crock Pot" A smallish one will do just fine.
1- Eye screw - small one will do.
2 Pulleys - can be model airplane hubs, nylon pulleys, metal bobbins etc.
1- pulley to re direct the line out of the waxer to take up reel
1- wooden frame to mount pulleys etc on.
1- short length of plastic tubing for a squeegee
1- screw to hold tubing
The Wax... Paraffin wax is the base. I get it in a box with sections that you can break off I usually use about half the package and throw on a bees wax candle for colour and an added property. I also add either mineral oil (a small dribble) or after shave to thin it and make it get into the thread. Make sure the level is high enough to cover the lower pulleys.
Plans
The following is a section and top view of the waxing rig.
The first thing to do after getting your Crock Pot is to determine the contour of the interior and make your mounting board fit it across the centre of the pot. For me this was the hardest part. Once it is cut out and sanded then mount the two lower pulleys so they are just above the bottom and will turn freely when sitting in position.
Now add the eye screw so the line will go between the screw and the first lower pulley without hitting the side of the pot. The same with the upper pulley. To locate the squeegee place a piece of line between the lower and upper pulleys and make a mark about 3/4 the way up to the top pulley. drill a pilot hole right thru the board and then bring the tip of a #12 screw or there abouts thru from the other side and stick out far enough to screw a piece of small plastic tubing onto. As an alternative... drill the hole big enough to push the tubing thru and use a short screw to secure it in place.
The Waxing
The first thing to do after getting your Crock Pot is to determine the contour of the interior and make your mounting board fit it across the centre of the pot. For me this was the hardest part. Once it is cut out and sanded then mount the two lower pulleys so they are just above the bottom and will turn freely when sitting in position.Now add the eye screw so the line will go between the screw and the first lower pulley without hitting the side of the pot. The same with the upper pulley. To locate the squeegee place a piece of line between the lower and upper pulleys and make a mark about 3/4 the way up to the top pulley. drill a pilot hole right thru the board and then bring the tip of a #12 screw or there abouts thru from the other side and stick out far enough to screw a piece of small plastic tubing onto. As an alternative... drill the hole big enough to push the tubing thru and use a short screw to secure it in place.
Pictures
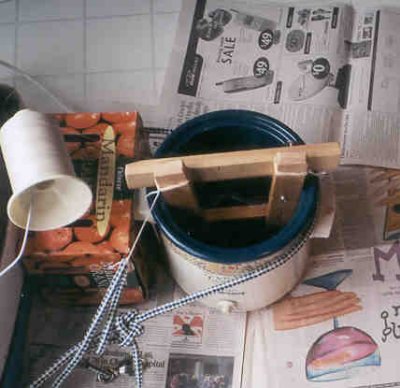
Here is my waxer in action. Some T7 cotton line getting a "hot wax" treatment
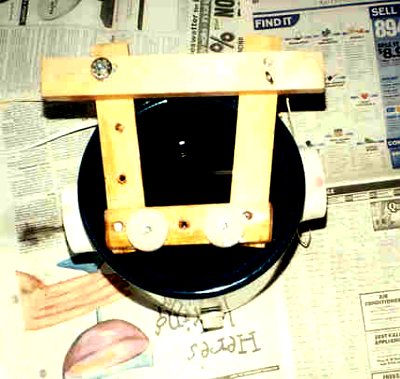
This is the actual rig. Fancy it is not but it is very functional. The frame is 1x2 pine that has been screwed together and the hardware mounted to. The small lines attached to the up rights with elastic bands is to secure the rig to the crock pot so it doesn't pop out in the middle of a session.
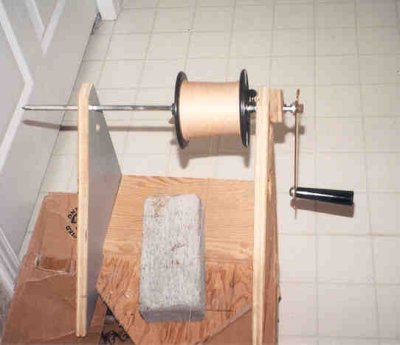
On the subject of Take-up reels... Get creative. Mine is about as simple as they come. A wooden frame with a BBQ spit as the axle and a bulk line spool as the reel. The prongs from the spit hold the spool in place. The handle is mounted on a shelf bracket to make the crank. I set it up on a box, use a brick for a weight and start cranking. Some good music, a nice drink and an hour or two of cranking produces a couple thousand feet of nicely waxed line. Oh ya... One happy fighterguy! ;)
The last word on waxing your own line...
Don't sweat it. You don't need an engineering degree to build one. The results are as good as anybody who use much fancier rigs. The whole thing can be made for less than 20 bucks if you get some bargoons. It is cool to have some line that you like and works to your satisfaction! A great grin producer!
have fun
Keep Grinning!
The Mad Scientist
This site has been modified on March 18th, 2021
|